


Yoga for Headache Relief
As a particularly hormonal creature, I have regularly suffered two types of headaches since a very young age: tension headaches and migraines. (For the record, there are three common types of headaches, according to Ayurveda: tension, migraine and sinus.)
Over the years, I have taken my fair share of pills to mask the pain and carry on with my everyday life. Meanwhile, I have kept searching for natural and holistic ways to prevent and cure the symptoms. Fortunately, I found yoga early in life. And I later discovered Indian Ayurveda, and other holistic practices, which, when integrated, form a very effective remedy. (That’s another long story, to be continued some other time.)
When the pain is gruesome, you don’t want to get up and practice yoga. One morning I had a miserable migraine just before my regular Iyengar Practice, and my body was wobbling with pain. However, thanks to my awesome instructor, who was gentle and persistent, he guided me through a healing Iyengar Restorative Practice. I conquered the headache without pills and—more importantly—I overcame my fear of moving while I had a headache. I couldn’t be more grateful.
Very important note: If you are new to Iyengar, or if this is your first time doing yoga with a headache, you should not try it on your own. Supervision by a knowledgeable instructor is highly recommended. And if this is your first time ever practicing yoga, you may want to consult your doctor or healthcare professional.
I have found five simple yoga poses for headache relief that can be practiced at home. Just remember to pace yourself and breathe. Try to integrate these poses into your daily routine to prevent headaches—or whenever you feel one beginning to emerge.
5 Yoga Poses for Headache Relief
These are simple stress-relief yoga poses. Even if you are a beginner, you should be able to flow through them with ease. When moving through these poses, it’s important to concentrate on continually taking full, deep diaphragmatic or “belly” breaths. With each breath, your stomach, rather than your chest and shoulders, should move, indicating that you are getting the most oxygen with every breath as well as giving the tight muscles in your shoulders, neck and upper back a break.
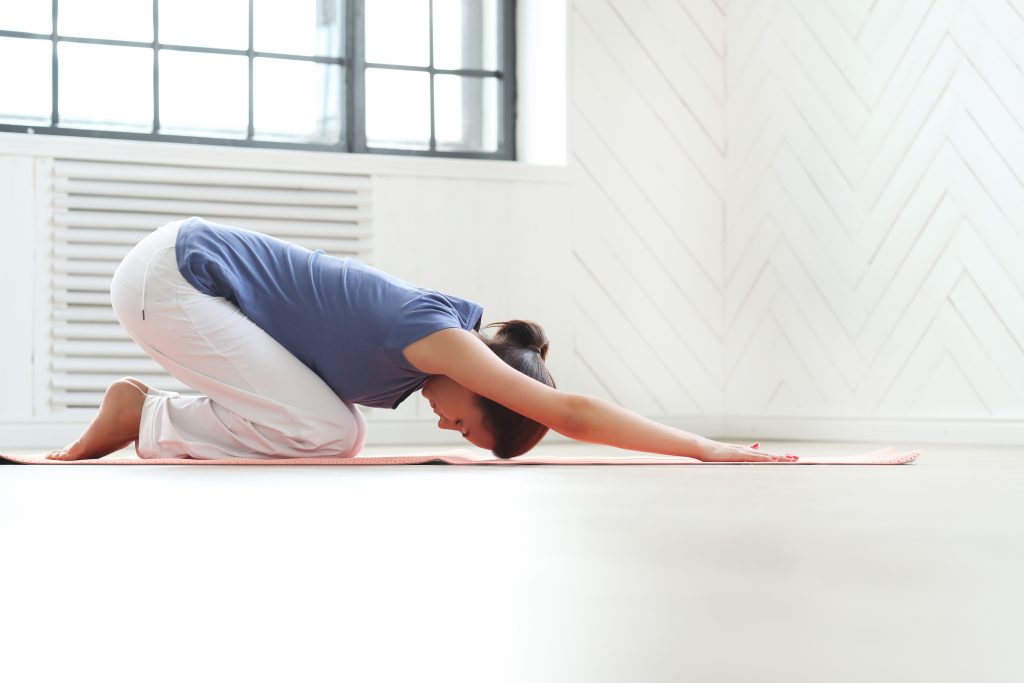
PHOTO CREDIT: <a href=’https://www.freepik.com/photos/people‘>People photo created by Racool_studio – www.freepik.com</a>
1. Child’s Pose
- Get onto your hands and knees on the mat, keeping your feet together.
- Spread your knees as wide as your mat, keeping the tops of your feet on the floor with your big toes touching.
- Reach your arms forward on the mat, rest your forehead on the mat and extend your hips to the mat behind you. Bring your belly to rest between your thighs and root your forehead to the floor. Relax your shoulders, jaw, and eyes. If it is uncomfortable to place your forehead on the floor, rest it on a block. Finding a comfortable place for your forehead is key to gaining this soothing benefit.
- You can stretch your arms in front of you with the palms toward the floor or bring your arms back alongside your thighs with the palms facing upwards. These are the most common variations.
- Keep the back of your neck long and your shoulders and upper back relaxed.
- Stay here for eight to 10 breaths.
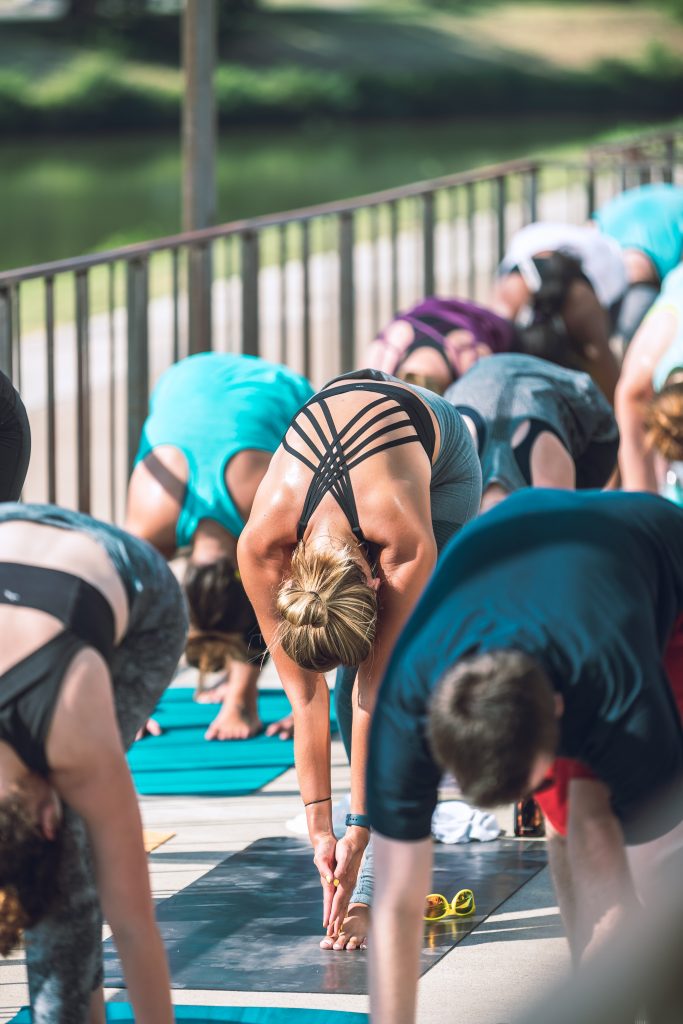
PHOTO CREDIT: Nate Johnston on Unsplash
2. Forward Fold
- Stand tall with your feet hip-width apart
- Bend at the hips to extend the crown of your head straight down toward the floor.
- Soften your knees to increase the stretch, and keep your heels flat on the mat.
- Focus your eyes on one point toward the back edge of your mat.
- Your hands can rest on the mat or a block, or you can hold your elbows.
- Stay here for six to eight breaths.
3. Supine Twist
- Lie on your back on a mat, and draw your knees to your chest.
- Lower your legs to one side. Keep your hips stacked, one side over the other.
- Stretch your arms straight out to the sides of the mat with your palms facing up.
- Gaze up toward the ceiling or over to the hand opposite your knees.
- Stay here for six breaths, and repeat on the other side.
4. Legs Up the Wall
- Lie on your back with your buttocks against a wall.
- Extend your legs up against the side of the wall.
- Relax your upper body with your arms next to your torso, palms facing up.
- Stay here for at least 10 breaths.
5. Supine Chest and Shoulder Stretch
- Place a bolster or a rolled-up towel on the mat and lie down, face-up, so that it supports the length of your spine.
- Open your arms out to the sides of your body to form a “T” shape, with your palms facing up, and let your hands and shoulders drop toward the floor.
- Stay here for at least 10 breaths.
Rungsima Kasikranund
•Curator at Bangkok 101 •Founder of RAW & REAL Rungsima is a curator of art and design and a project director with a diverse creative background. Her awareness of natural wellbeing started at a very young age. She was brought up in a family where environmental concern, sustainable living, natural wellbeing, and holistic health care were simply the way of life. Having been on this path her entire life, she is today a practitioner in natural wellbeing, a student in Indian Ayurveda practice, and a mindful eating & conscious living promoter. In 2015, she founded RAW & REAL – Natural & Organic Products and Sustainable Living. FB/IG: RAW & REAL


tommy hen
March 29, 2021Such a nice calm relaxing blog